We love simple, easy meals with ingredients straight out of our garden - meals like this tomato basil pasta. It hardly takes take any time at all but the finished dish will have you feeling like you're at a little bistro somewhere living large and eating well.

You'll need a package of spaghetti or angel hair noodles, cooked according to the package instructions. Adding a large glug of olive oil and a generous pinch of salt in the boiling water before cooking the noodles helps things out makes things better.
Then dice up 3-4 ripe tomatoes, mince 2 cloves of fresh garlic and dice up half an onion. Chiffonade (<---added a video to show you how) some fresh basil and set aside, about a 1/2 cup of it.
In a large skillet or saucepan, pour enough olive oil to coat the bottom of the pan and heat it up over medium heat. Add the garlic and onion and saute until it's fragrant and the onion has softened. Then add the tomatoes and toss them around, cooking them down a bit for 3-4 minutes. Add salt and pepper to taste and remove it from the heat.
Serve over pasta, with the fresh basil and good parmesan sprinkled (generously) over the top. Enjoy, enjoy, enjoy.
We'll be at market this week and the CSA boxes will have nearly everything you need to make this pasta! Here's what we'll have:
- potatoes
- onions
- tomatoes
- green tomatoes
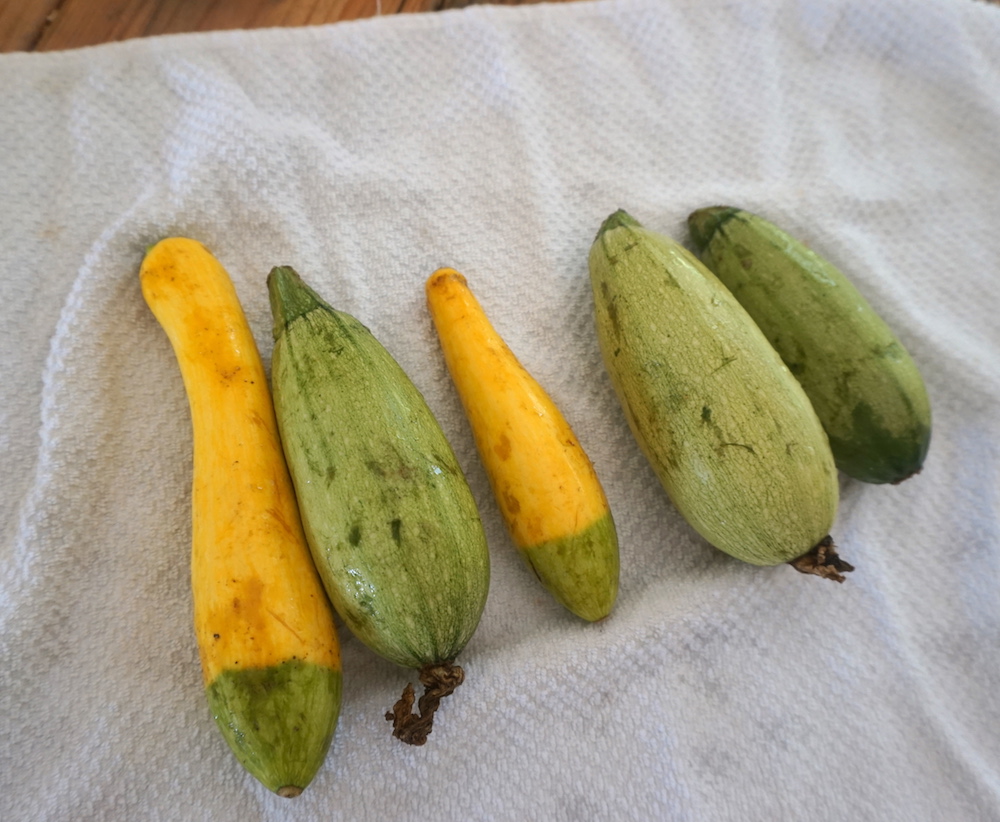
- summer squash
- peppers
- green beans
- basil
- freshly baked bread
*See you soon!*